Instant Pot Rice (Fluffy White Rice Every Time)
Perfectly fluffy white rice in the Instant Pot with a 1:1 water-to-rice ratio. Hands-off, no watching the pot, no boiling over — just set it and walk away for perfect results in 15 minutes.
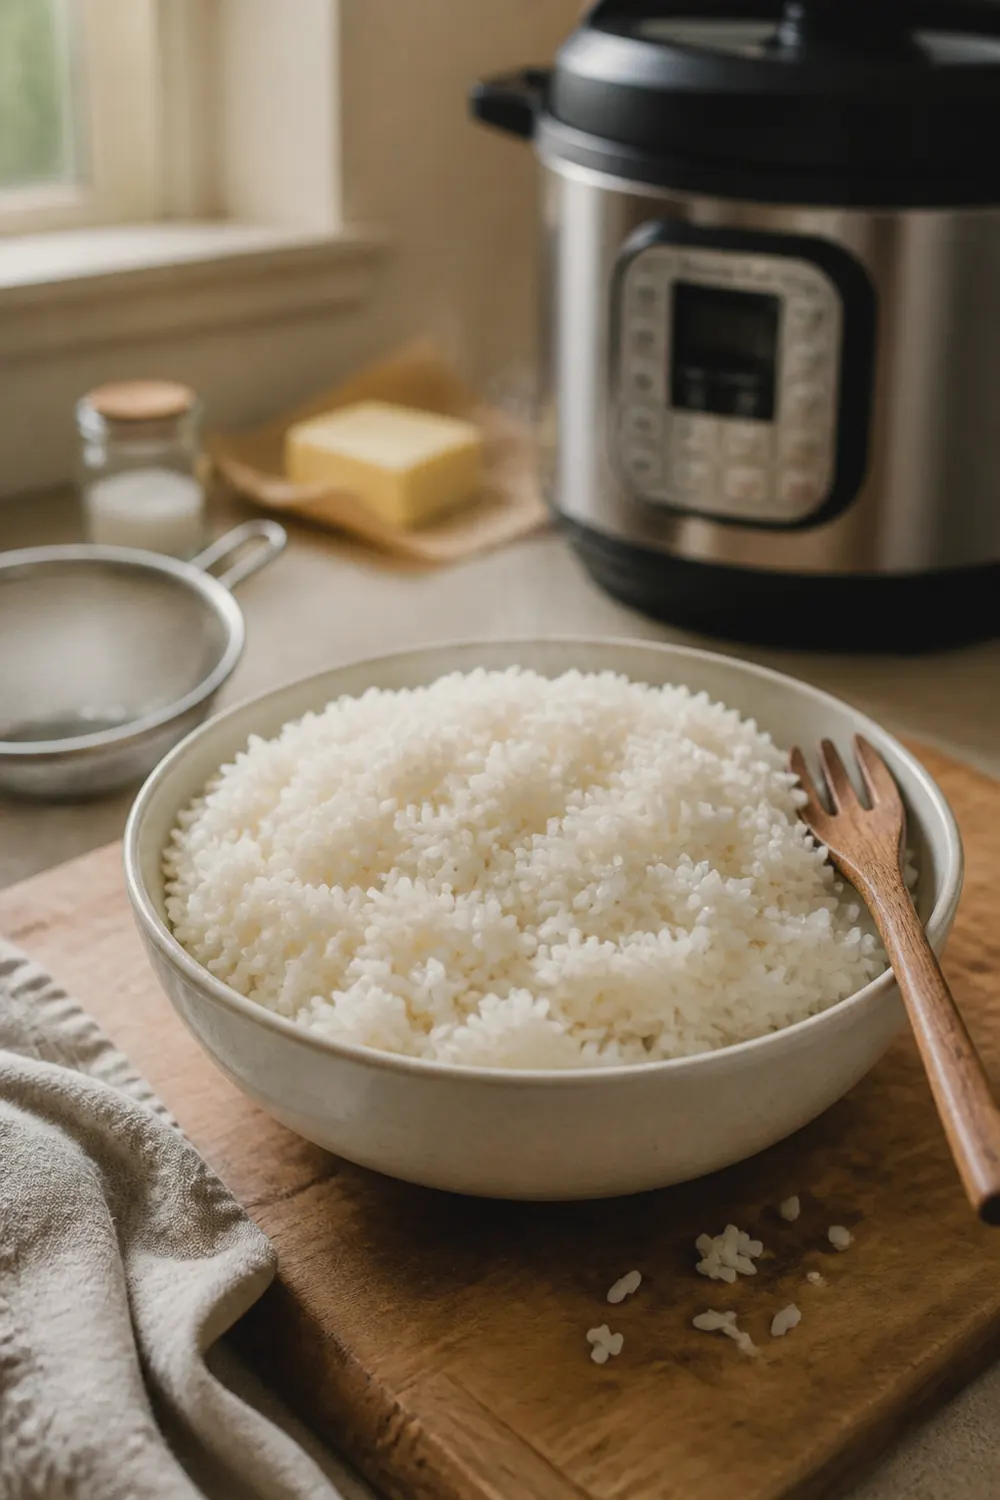
This is the set-it-and-forget-it way to make white rice. No babysitting a pot on the stove, no worrying about boiling over, no guessing when to cut the heat. Two cups of rice, two cups of water, three minutes under pressure, ten minutes of natural release, and you get a pot of fluffy, separate grains every single time.
We have made this hundreds of times across different Instant Pot models — the 6-quart Duo, the 8-quart, the Ultra — and the 1:1 ratio holds steady. The key is the natural release. Those ten minutes of sitting are not optional — the rice is still cooking in residual steam, and opening the valve early leaves you with crunchy, undercooked centers.
Why This Recipe Works
- The 1:1 ratio is the pressure cooker standard. Stovetop rice needs extra water because steam escapes through the lid. In a sealed Instant Pot, virtually no moisture escapes, so equal parts rice and water gives you the right amount of absorption every time.
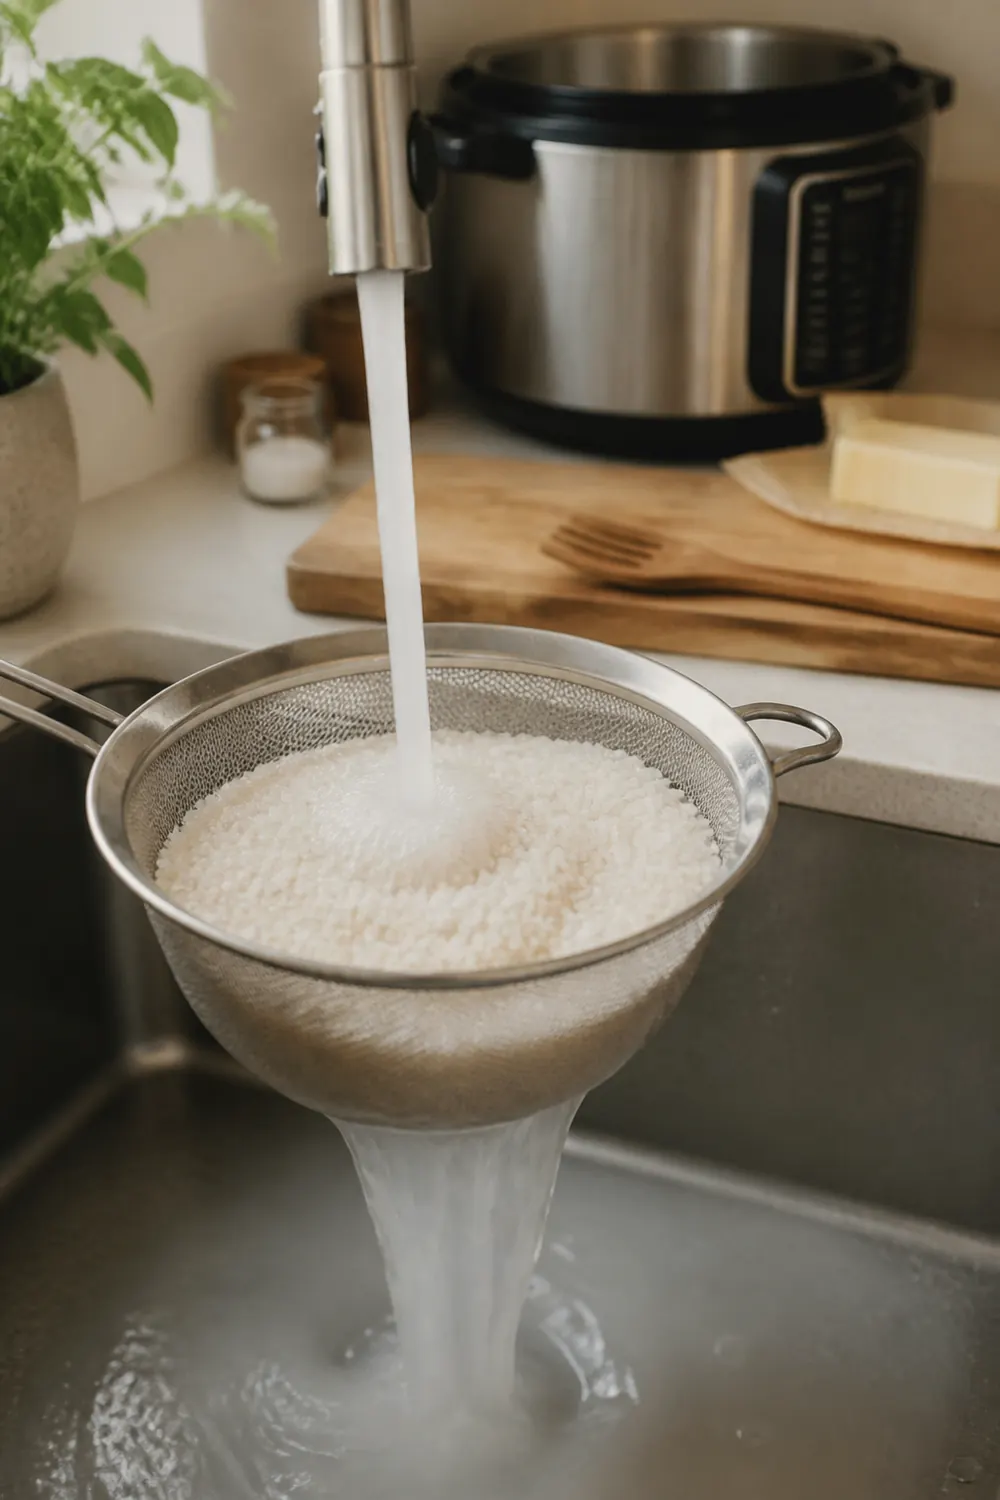
- Rinsing prevents gummy rice. Raw milled rice is coated in loose surface starch. If you skip the rinse, that starch dissolves into the cooking water and turns into a sticky paste that glues the grains together.
- Natural release finishes the cook. Three minutes of pressure is not enough to fully cook the rice on its own — the ten-minute natural release lets residual steam finish the job gently, without overcooking the outside of each grain.
Ingredient Notes
Simple recipe, but the details matter.
- Long-grain white rice: Standard long-grain (like the bags labeled “enriched long grain” at any grocery store) works perfectly with the 1:1 ratio and 3-minute cook time. Jasmine rice works with the same settings. Basmati needs slightly less water — try 1 cup rice to 0.75 cups water. Short-grain and sushi rice need different ratios entirely.
- Cold water: Start with cold water, not hot. Hot water can cause the outside of the grains to cook faster than the inside, leading to mushy exteriors and firm centers.
- Butter or oil: A tablespoon stirred in before cooking coats the grains and reduces sticking to the bottom of the pot. Completely optional — the rice turns out well without it, but cleanup is easier with it.
How to Make Instant Pot Rice
The short version — full amounts and times are in the recipe card below.
Step 1: Rinse the rice. Run it under cold water in a strainer until the water goes from milky-white to mostly clear. This takes about 30 seconds of active swirling. Shake off the excess water.
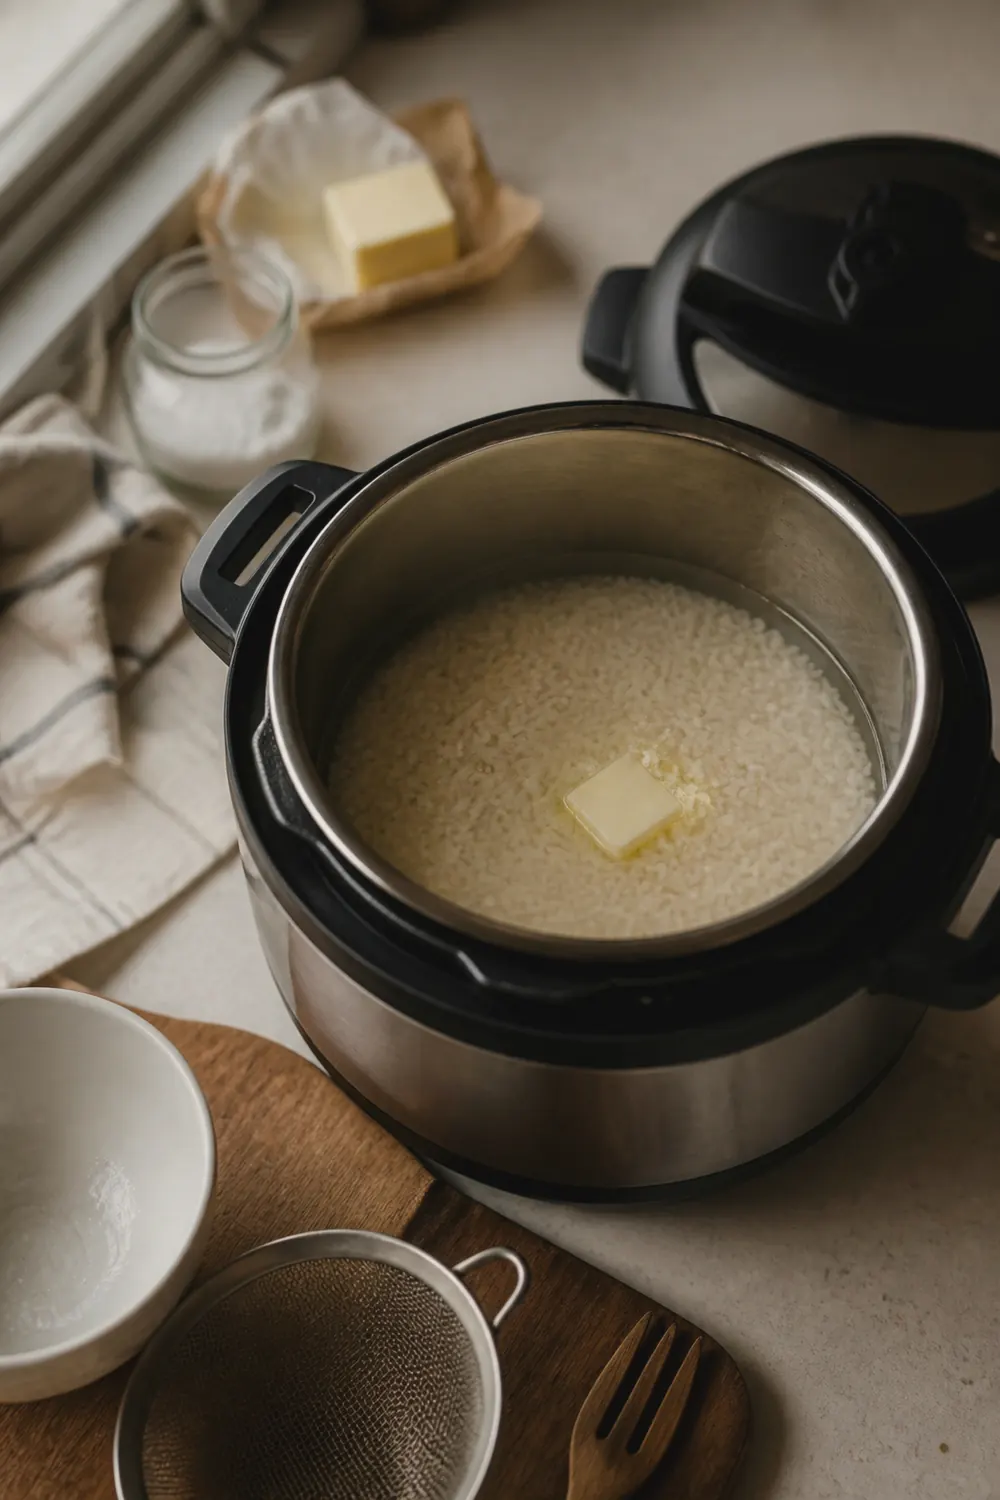
Step 2: Pressure cook on high for 3 minutes. Add the rice, water, butter, and salt to the pot. Stir once, seal the lid, and set it. The pot will take about 8 to 10 minutes to come to pressure before the 3-minute countdown starts — that is normal.
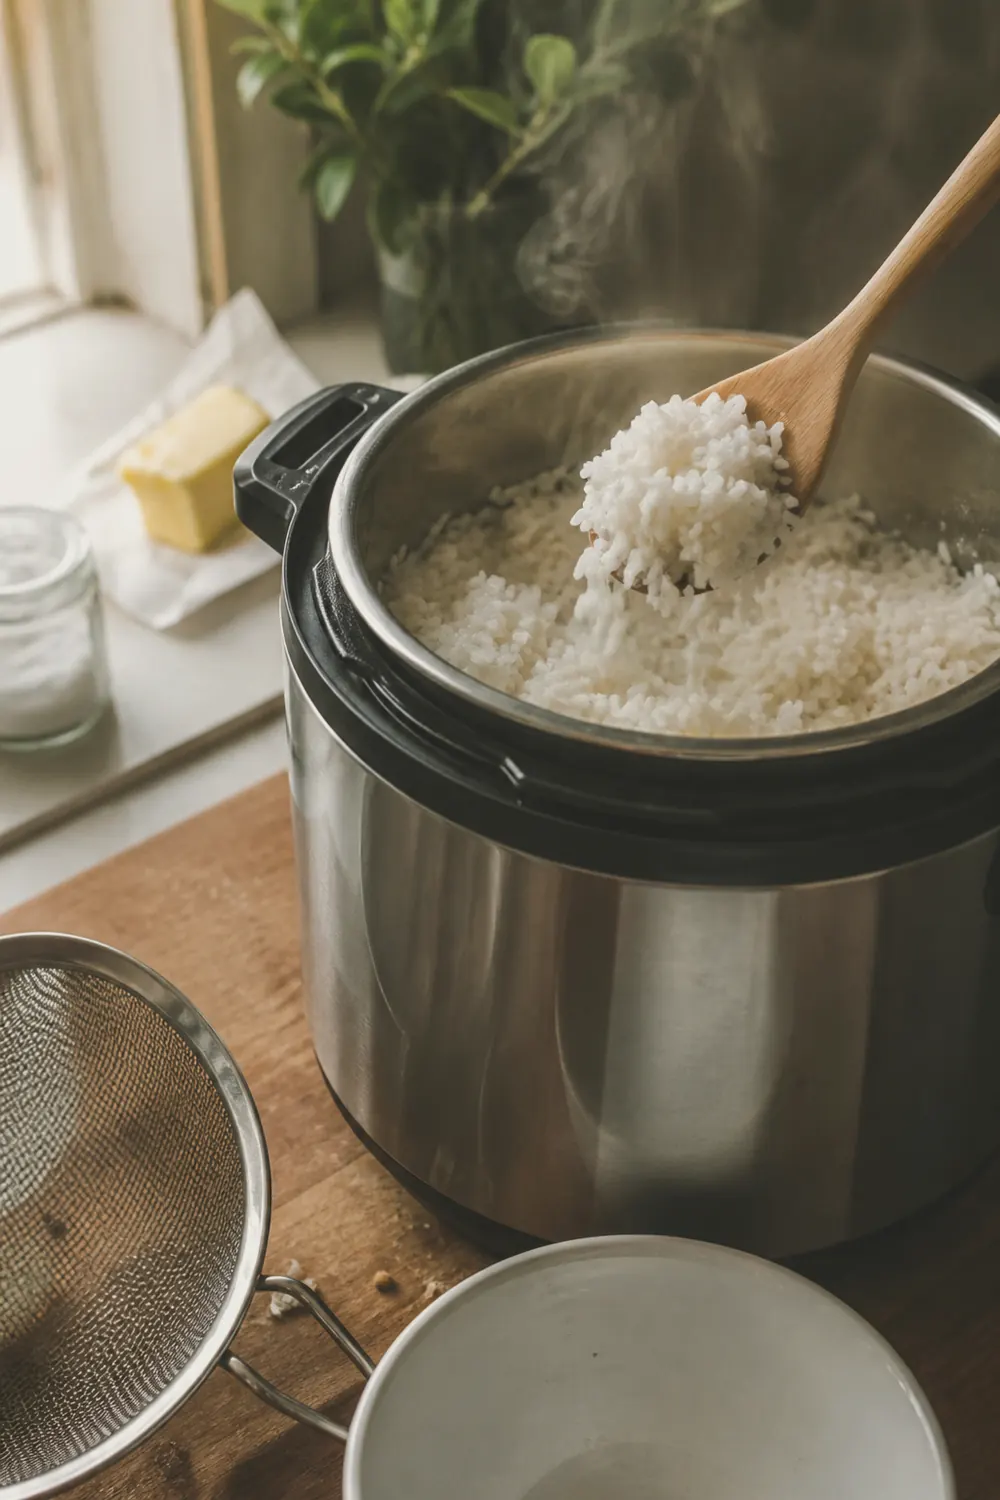
Step 3: Natural release for 10 minutes, then fluff. When the timer beeps, do not touch anything. Wait a full 10 minutes, then turn the valve to venting. Open the lid and fluff with a fork — the grains should be separate, tender, and steaming.
Pro Tips
- Do not skip the rinse. Unrinsed rice in a sealed pot turns gummy almost every time. Thirty seconds under the faucet is the difference between fluffy and sticky.
- Do not quick-release. Opening the valve early dumps steam the rice still needs. You will get hard, undercooked grains in the center. Set a timer for 10 minutes and walk away.
- Keep the lid on after fluffing. If you are not serving immediately, fluff the rice, then close the lid and switch to Keep Warm. It holds well for up to 2 hours without drying out.
- Scale confidently. This ratio scales linearly — 3 cups rice to 3 cups water, or 1 cup to 1 cup. Keep the same 3-minute cook time and 10-minute natural release regardless of quantity, up to the max fill line of your pot.
Variations
Same base method, different directions depending on what you are cooking.
- Cilantro-lime rice: Stir in 2 tablespoons of fresh lime juice and a quarter cup of chopped cilantro right after fluffing. Great alongside instant pot chili or any Mexican-style bowl.
- Coconut rice: Replace half the water with full-fat coconut milk. The rice comes out slightly sticky and rich — good with curries and stir-fries.
- Garlic butter rice: Melt 2 tablespoons of butter on Saute mode, cook 3 minced garlic cloves for 30 seconds, then add the rice and water. The garlic blooms in the butter and flavors every grain.
- Yellow turmeric rice: Add half a teaspoon of ground turmeric and a pinch of cumin to the water before cooking. The rice turns golden and pairs well with roasted vegetables or grilled chicken.
Storage & Reheating
Store leftover rice in an airtight container in the refrigerator and use within 4 days (USDA guideline for cooked grains). Reheat in the microwave with a splash of water — cover the bowl with a damp paper towel to trap steam and bring back the fluffy texture. Stovetop reheating works too: add a tablespoon of water per cup of rice, cover, and warm over low heat for 3 to 4 minutes, stirring once.
To freeze, spread cooled rice in a thin layer on a sheet pan, freeze until solid (about an hour), then transfer to freezer bags and press out the air. Frozen rice keeps for up to 3 months. Reheat straight from frozen in the microwave — no need to thaw first. Frozen and reheated rice actually makes great fried rice because the freezing process dries out the grains slightly.
FAQ
The questions that come up most when people make Instant Pot rice.
What if my rice is mushy?
Too much water is the usual cause. Make sure you are measuring 1:1 by volume (use the same cup for both). Also check that you rinsed the rice — unrinsed starch thickens the cooking liquid and makes everything sticky. If you used jasmine rice, it is naturally a bit softer and more clingy than standard long-grain, which is normal.
Can I make brown rice with this method?
Brown rice needs more water and longer cook time because the bran layer slows absorption. Use a 1:1.25 ratio (1 cup rice to 1.25 cups water) and cook on high pressure for 22 minutes with a 10-minute natural release.
Why does my Instant Pot take so long to come to pressure?
Coming to pressure takes 8 to 12 minutes depending on how much liquid and food is in the pot and whether you started with cold water. This is normal and not part of the 3-minute cook time. The countdown only starts after the pot reaches full pressure.
What to Serve With
Plain white rice goes with almost anything, but a few pairings from our kitchen that we keep coming back to. Instant Pot beef stew ladled over a scoop of this rice turns it into a full meal. For a spicy weeknight combo, serve it alongside instant pot chili — the mild rice balances the heat. And if you have leftover rice, it works great as a bed for crockpot BBQ chicken shredded right out of the slow cooker.
Instant Pot Rice (Fluffy White Rice Every Time)
Perfectly fluffy white rice in the Instant Pot with a 1:1 water-to-rice ratio. Hands-off, no watching the pot, no boiling over — just set it and walk away for perfect results in 15 minutes.
- Prep
- 2 min
- Cook
- 13 min
- Total
- 15 min
- Servings
- 6
- Calories
- 205
Ingredients
Instructions
- Rinse the rice in a fine-mesh strainer under cold running water, swirling with your hand, until the water runs mostly clear — about 30 seconds of active rinsing. This removes excess surface starch that makes rice gummy. Drain well and shake off extra water.
- Add the rinsed rice, cold water, butter (if using), and salt to the Instant Pot inner pot. Stir once gently to level the rice and make sure no grains are stuck above the water line. Lock the lid, turn the steam valve to Sealing, and cook on High Pressure for 3 minutes.
- When the timer beeps, leave the Instant Pot completely alone for a full 10-minute natural pressure release — do not touch the valve. After 10 minutes, turn the valve to Venting to release any remaining steam. Remove the lid, fluff the rice with a fork in gentle lifting motions from the bottom up, and serve.
Filed under: rice · american
Crisp & Simmer
Easy weeknight recipes, organized by method. Every recipe is built on tested methods and safe-temperature standards — and corrected fast when readers tell us something's off.